GoAnywhere - Setting up an AWS S3 bucket
Learn how to set up and configure an AWS S3 bucket using GoAnywhere.

Written by Sam Fry
Updated at January 22nd, 2026
Amazon S3 provides businesses of all sizes with an affordable and scalable cloud storage solution. GoAnywhere allows an Amazon S3 bucket to be configured as a resource and then specified as file repositories from within Domains or as a Web User virtual folder. Using the intuitive workflow builder, you can use the Amazon S3 component to build projects that retrieve or modify object metadata using the S3 task, or upload / download / manage documents by using qualified file paths.
GoAnywhere supports Amazon’s server-side SSE-S3 method for encrypting data at rest by using the AES 256-bit encryption standard. Advanced Encryption Standard (AES) – also known by its original name ‘Rijndael’ – has been adopted by the US government and is now used world-wide. When AES-256 is selected from within GoAnywhere, all files and data uploaded to the Amazon S3 resource will automatically be encrypted on the Amazon platform. Files that are already encrypted in the Amazon S3 bucket will be automatically decrypted when downloaded by GoAnywhere.
In addition, in GoAnywhere you can monitor Amazon S3 buckets for changes or modifications to data. Monitoring can help with automation tasks, such as email alerts when a file has been uploaded to a bucket, changed, or even deleted.
GoAnywhere MFT also supports Azure blob storage with the same level of functions and features in the Amazon S3 bucket resource.
To set up an S3 bucket for use within GoAnywhere, login to your AWS console account and select Services > Storage > S3
In the Buckets window, select the Create bucket button
Give the bucket a name (lowercase characters only allowed in a bucket name)
Select the AWS Region for the bucket to reside in
In this example we are configuring a simple bucket access with basic access granted.
Leave ACLs disabled (recommended).
It is possible to enable Access Control Lists relating to other AWS accounts, but this example does not use ACLs.

In the section ‘Block Public Access settings for this bucket’ we are blocking all public access as GoAnywhere will use an access key to connect.

Leave Bucket Versioning disabled.
Versioning creates multiple variants of objects in the bucket, but this example does not use versioning.

Scroll down to the Default Encryption section.
In this example we are selecting the option Server-side encryption with Amazon S3 managed Key (SSE-S3)

Select the Create Bucket button at the bottom of the screen.
Your new bucket has been created and is displayed in a list on screen
![]()
Go back to the Services menu and type Users into the search bar. Navigate to Features > Users

In the Users page select the Add Users button
Select or enter the email address for the relevant user account. We are creating a new user in this example.
Select Next
On the Set permissions page, select the Attach Policies Directly option
And in the search box type in S3 to see the various S3 permission level policies available. A new policy can also be created.
Select a policy to grant the policy access to your required user

After selecting the relevant policy, select Next
Then select the Create User button
Double-click the user in the user list and navigate to the Security credentials tab
Scroll down to the Access Keys section, and select the Create access Key button
Select the option Application running outside AWS
Read the best practice guidance that is then displayed on screen when using this option
Select Next
Optionally, set a description tag for the access key you are about to create.
Select the Create Access Key button, the Access key and the Secret access key are then displayed on screen and can either be copied or saved into a .csv file.
The secret key is hidden and must be saved before leaving this page or the secret key will be lost.

Once both are copied, select the Done button
Navigate back to your new Bucket through the top menu Services > Storage >S3
Click on the bucket to open the configuration tabs, and select the Access Points tab
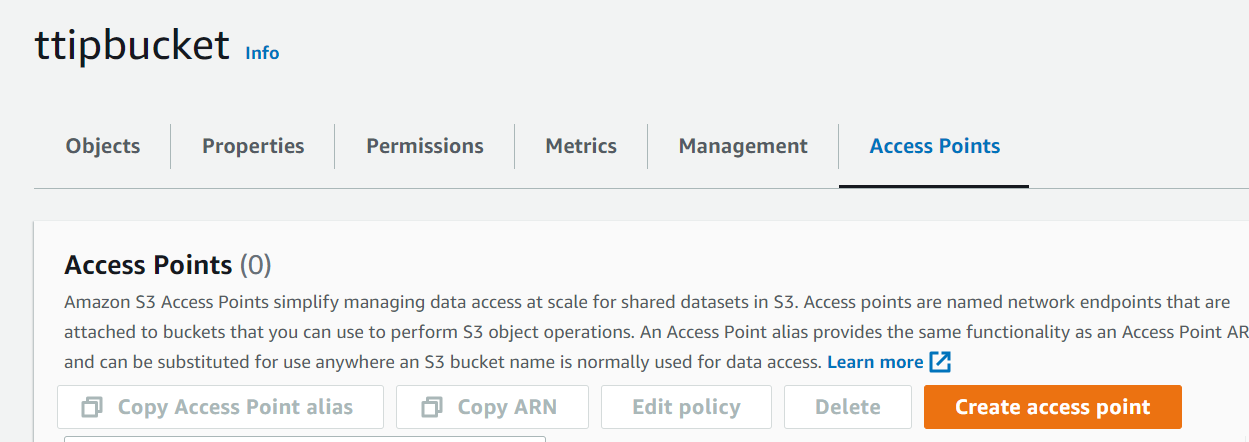
Select the Create access point button and enter a name for the access point for this bucket (lowercase characters only including numbers).
Set the Network origin to Internet
Ensure that all public access is Blocked as we did when creating the bucket.
Scroll down to the end of the page and select the Create access point button.
This completes a basic set up for a new AWS S3 bucket.
The bucket is now ready to be set up as a Resource in GoAnywhere
In the GoAnywhere Admin Console, navigate to Resources, and select Amazon A3 Buckets
Select the Add Amazon S3 bucket button at the top of the screen
Enter a Name for the resource (this does not have to be the same as the bucket name)
Select the Authentication Type (we have used basic to facilitate initial connectivity)
Enter the Access Key you copied from the Access Key creation stage in AWS
Enter the SecretAccess Key you copied from the Access Key creation stage in AWS
Enter the Bucket Name as created, and displayed in AWS
Select the Region (although it is also possible that GoAnywhere will recognise the bucket without setting this to be the same region as the bucket location).

We now have a functioning AWS S3 Resource in GoAnywhere which can be used in Projects and project Monitors, as a Webdocs location or as a Web User Virtual Folder.
Examples of the S3 bucket in use:
-
Using the S3 Upload (or Download) commands within a project.
As with many of the GoAnywhere connectors, the upload and download commands take a single file so must be used within a loop to process multiple files

-
Using the S3 bucket as the source of a Create File List command in a Project

-
Using the S3 bucket in a Copy statement to copy to another resource location

-
Using the S3 Bucket as the source directory for a monitor

When run in conjunction with a monitor, the monitor file set variable from the S3 source is passed into the project just like any other type of monitor directory file set.
In the project below, the S3 monitor file set variable is passed through to the project via the variable ${files}
